How to Make a Simple Calculator Using HTML, CSS, and JavaScript
In this article, I will demonstrate how to build a basic calculator utilizing the three languages that are used for developing websites: HTML, CSS, and JavaScript. Following the completion of the calculator, I will also provide a concise explanation of the code. So, without further ado, let's begin by putting the code in place, followed by the output and its explanation. So here's the deal:
<html>
<head>

   <style>
      button.op_button {
         background-color: #008080;
         color: white;
         padding: 10px 14px;
         border-radius: 10px;
         font-weight: bold;
      }
      .buttons_list {
         text-align: center;
      }
      h2 {
         text-align: center;
      }
      #res {
         border: 2px solid #008080;
         border-radius: 2px;
         padding: 8px 16px;
      }
      .calculator_content_box {
         border: 1px solid;
         border-radius: 5px;
         padding: 10px;
         width: 235px;
         margin: 0 auto;
      }
      .center {
         text-align: center;
         padding-right: 10px;
      }
      input[type="number"] {
         padding: 5px;
         width: 60px;
         border-radius: 4px;
      }
   </style>

</head>
<body>

   <div class="calculator_box">
      <div class="calculator_content_box">
         <h2>Simple Calculator</h2>
         <hr>
         <input type="number" name="num_one" id="num_one" style="margin-right: 110px;">
         <input type="number" name="num_two" id="num_two"><br><br>
         <div class="buttons_list">
            <button class="op_button" onclick="addFun()">+</button>
            <button class="op_button" onclick="subFun()">-</button>
            <button class="op_button" onclick="mulFun()">*</button>
            <button class="op_button" onclick="divFun()">/</button>
            <button class="op_button" onclick="modFun()">%</button>
         </div><br>
         <p class="center"><span class="restext">Result</span><br><br>
            <span id="res"></span>
         </p>
      </div>
   </div>
   <script>
      function addFun() {
         var a = document.getElementById("num_one").value;
         var b = document.getElementById("num_two").value;
         var r = +a + +b;
         document.getElementById("res").innerHTML = r;
      }
      function subFun() {
         var a = document.getElementById("num_one").value;
         var b = document.getElementById("num_two").value;
         var r = +a - +b;
         document.getElementById("res").innerHTML = r;
      }
      function mulFun() {
         var a = document.getElementById("num_one").value;
         var b = document.getElementById("num_two").value;
         var r = +a * +b;
         document.getElementById("res").innerHTML = r;
      }
      function divFun() {
         var a = document.getElementById("num_one").value;
         var b = document.getElementById("num_two").value;
         var r = +a / +b;
         document.getElementById("res").innerHTML = r;
      }
      function modFun() {
         var a = document.getElementById("num_one").value;
         var b = document.getElementById("num_two").value;
         var r = +a % +b;
         document.getElementById("res").innerHTML = r;
      }
   </script>

</body>
</html>
You can use any of the text editors that you like, such as "NotePad," to compose the code that has been presented above, and then save the code with a filename that has the extension ".html," such as "codescracker.html." After that, launch any web browser, such as "Google Chrome," and open the file that was just made. The following is an example of what will come out of it:
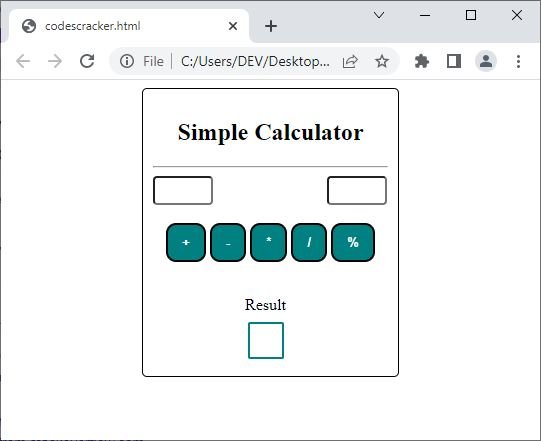
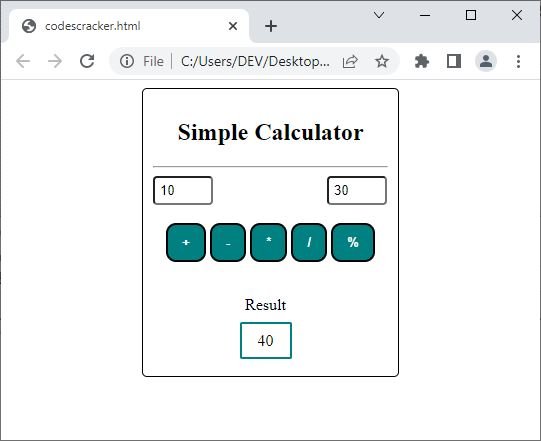
You can see the three boxes; the first two are used to feed two numbers, whereas the third box is used to display the result. For example, enter 10 in the first box and then 30 in the second box, and click on the "+" button to see the addition of two numbers in the "result" box, as shown in the snapshot given below:
Following is the live output of the above HTML, CSS, and JavaScript code that was written to output a simple calculator:
Simple Calculator
Result
The background-color property is used to change the color of a specified element's background.
The color property is used to define the color of the text.
The padding property is used to create space or a gap between the border and the content of a specified element.
The border-radius property is used when we need to round the corner of the border.
The font-weight property is used when we need to make the text thicker or thinner.
The text-align property is used to align the text horizontally.
The border property is used to create a border around an element.
The width property is used to define the width of an element.
The margin property is used to create a blank area or space around a specified element. If an element has a border, then the margin gets created around the border of the specified element.
The padding-right property is used to create right padding for a specified element.
The code that was just shown contains a large number of additional HTML elements as well as JavaScript codes. You can visit our HTML, CSS, and JavaScript tutorials if you want more in-depth instruction if you want to learn.
HTML Quiz | CSS Quiz | JavaScript Quiz
« JavaScript Tutorial CSS Tutorial »